
How to Build a Basic Coil
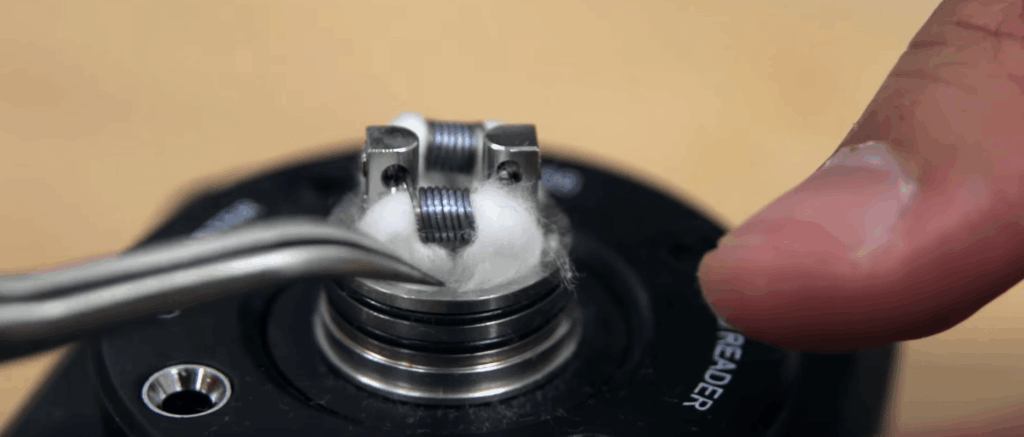
Building your first coil can feel intimidating, but a basic build is one of the easiest ways to get started with rebuildable atomizers. After a couple of tries, it becomes a quick, satisfying routine.
This step-by-step guide walks you through a simple dual-coil build in an RDA (rebuildable dripping atomizer), along with the safety checks that matter most. If you’re new to rebuildables, start with our guide to the anatomy of an RDA.
Prefer to watch? Watch ZampleBox Vape School videos on YouTube.
Short version: Wrap two matching coils, install them, pulse and adjust them until they glow evenly, check the resistance against your battery’s limits, then wick and saturate the cotton. Never build lower than your battery can handle, especially on a mechanical mod.
What you’ll need
- 24-gauge Kanthal wire. Sturdy, simple to work with and a good choice for a first build.
- Tweezers. Ceramic-tipped tweezers are best, because they are the only kind you can use on a coil while it fires.
- Wire snips, such as flush cutters, for trimming leads.
- A 1/8-inch Phillips screwdriver or a coil jig to wrap the wire around.
- An RDA.
- An ohm reader or a regulated mod to check resistance. An ohm reader is strongly recommended.
- Organic cotton. We like Japanese organic cotton pads; see Japanese cotton pads vs. organic cotton balls.
- Scissors for cutting the cotton.
- Your favorite vape juice to saturate the wicks.
Putting a kit together? Our vape tool kit guide covers the essentials.
Step-by-step: a basic dual-coil build
Step 1: Cut and wrap two coils
Cut two pieces of 24-gauge Kanthal, roughly 5 to 8 inches long. Wrap one piece around the shaft of your screwdriver or jig 8 times, keeping the wraps tight and even, with no gaps and no overlaps. Repeat with the second piece and make it as close to identical as you can, since matching coils heat at the same rate.
Step 2: Trim the leads and prep your RDA
The leads are the two straight ends of each coil. Leave one lead longer than the other so it can reach the farther post; about 2½ inches on one side and 1½ inches on the other gives you room to work. Take the RDA off your mod and screw it onto an ohm reader (recommended) or a regulated mod.
Step 3: Install the coils and pulse them
- Thread the leads of the first coil into the post holes and tighten the post screws.
- Snip the excess leads close to the posts.
- Rotate the RDA and install the second coil the same way.
- Check the resistance reading before you fire anything.
- Fire the coils in short pulses at low power until they glow red. This is often called dry firing.
- With the device off, gently pinch the wraps together with your tweezers to close any gaps, then pulse again.
Never touch a firing coil with metal tweezers. Metal tools can short the build and ruin the coil. Only ceramic tweezers are made for adjusting a coil while it fires.
Step 4: Center the coils and check the glow
Center each coil over its half of the deck. No part of a coil should touch the deck, the top cap or the other coil; the only contact should be where the leads enter the posts.
Pulse again and watch the glow. A good coil heats evenly, starting in the center and spreading outward. If one spot glows brighter than the rest, that’s a hot spot. Pinch or gently strum the wraps with your tool until the whole coil glows evenly, then recheck the resistance. A dual build like this usually lands well below 1 ohm, so make sure your battery can handle it before you go further.
Step 5: Wick the coils
Cut two strips of Japanese or organic cotton. Twist one end of each strip to a point so it threads easily, then pull it through the coil. It should slide through with a little resistance, snug but not so tight that it bends the coil. Trim the ends, leaving enough to reach the juice well, and use your tweezers to tuck them in. Leave a little space under each coil so air can flow beneath it.
Step 6: Saturate and vape
Drip vape juice onto the cotton until it’s fully saturated. Put the RDA back on your mod, replace the top cap and start at a low wattage, working up until the flavor and warmth feel right. Re-drip before the cotton dries out to avoid a dry hit.
Resistance and battery safety
This is the most important part of building. Ohm’s law ties voltage, resistance and current together: current in amps equals voltage divided by resistance. The lower your build’s resistance, the more current your battery has to deliver.
For example, a fully charged battery at 4.2 volts firing a 0.3-ohm build draws 14 amps. If that is more than your battery’s continuous discharge rating, you are pushing it past its limits, and it can overheat or vent.
- Regulated mods have built-in protection and usually refuse to fire below a minimum resistance. Still use batteries that meet the device’s requirements.
- Mechanical mods have no electronic protection. Your build and your battery are the only safeguards, so check every build on an ohm reader before firing it.
- Buy batteries from reputable sources, replace any with damaged wraps and carry spares in a plastic case.
Read mechanical mod battery safety and our recommended batteries for vaping before you start building for a mech.
Troubleshooting your first build
- The resistance reading jumps around: a lead is loose. Tighten the post screws and check again.
- The reading is far lower than expected: a coil may be touching the deck or top cap and shorting. Fix the placement before you fire.
- No reading at all: a lead isn’t making contact, or a coil is broken.
- Spitting or popping: there’s too much juice on the deck, or the cotton is too loose. Drip less, or re-wick a little more snugly.
- A burnt taste: the cotton dried out or the coil has a hot spot. See why your vape tastes burnt.
Juice for your new build
Drippers put the coil close to your mouth, so flavor comes through clearly. Browse our vape juice, or let the Zamplebox Club send a monthly box of vape juice curated to your taste.
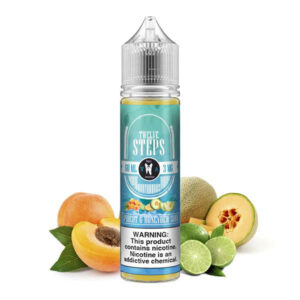
-
12 Steps - Vapors Anonymous
Price range: $8.99 through $29.99 Select options This product has multiple variants. The options may be chosen on the product page -
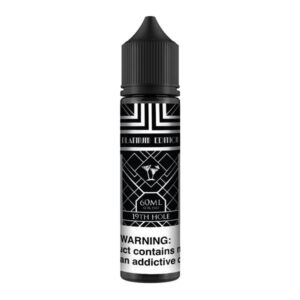
19th Hole - Black Label Platinum Edition
Price range: $8.99 through $29.99 Select options This product has multiple variants. The options may be chosen on the product page -
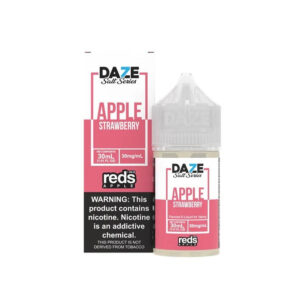
7 Daze Reds Salt Series - Apple Strawberry - 30ml
$14.99 Select options This product has multiple variants. The options may be chosen on the product page
Common questions
Why use 24-gauge Kanthal?
It is sturdy enough to hold its shape, simple to work with and forgiving for a first build. Once you’re comfortable, you can experiment with other gauges and wire types.
Do I really need an ohm reader?
It’s strongly recommended, and essential if you use a mechanical mod. It lets you check and adjust a build before it ever goes on your device.
How often should I re-wick?
Replace the cotton when the flavor fades or you notice a burnt edge. Very sweet juices gunk up coils faster, so you may need to clean the coils and re-wick more often.
Can I use this build in a tank?
This guide is for RDAs. Rebuildable tank atomizers (RTAs) use similar coil steps, but the wicking is different because the cotton has to feed juice from the tank. Follow your RTA’s instructions.
WARNING: This product contains nicotine. Nicotine is an addictive chemical. For adults 21+ only.